


Stacked Braids | Cute Braided Hairstyles
Sept 11, 2013
Items Needed: Brush, rat-tail comb, spray bottle, 1 small hair elastic, hairspray {if desired}.
Time Requirement: 5-8 minutes
Skill Level: Medium
Step-by-Step Instructions:
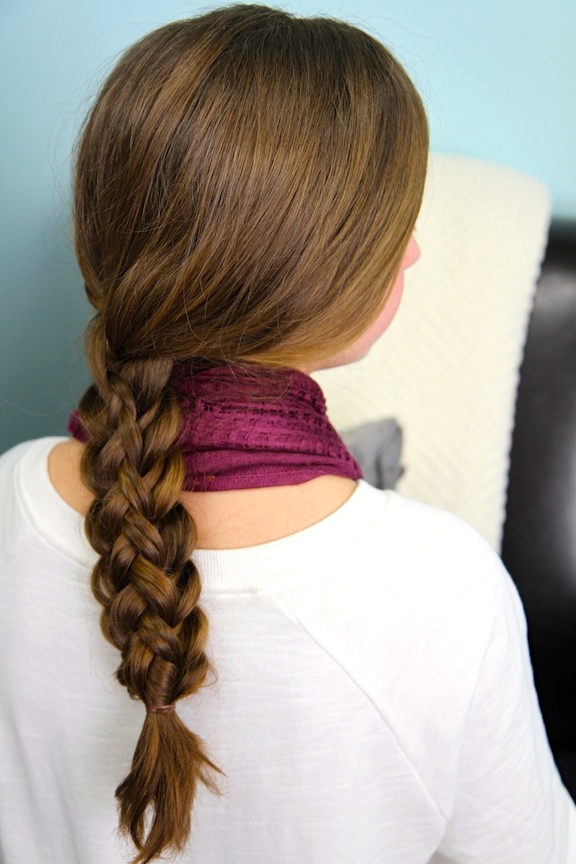
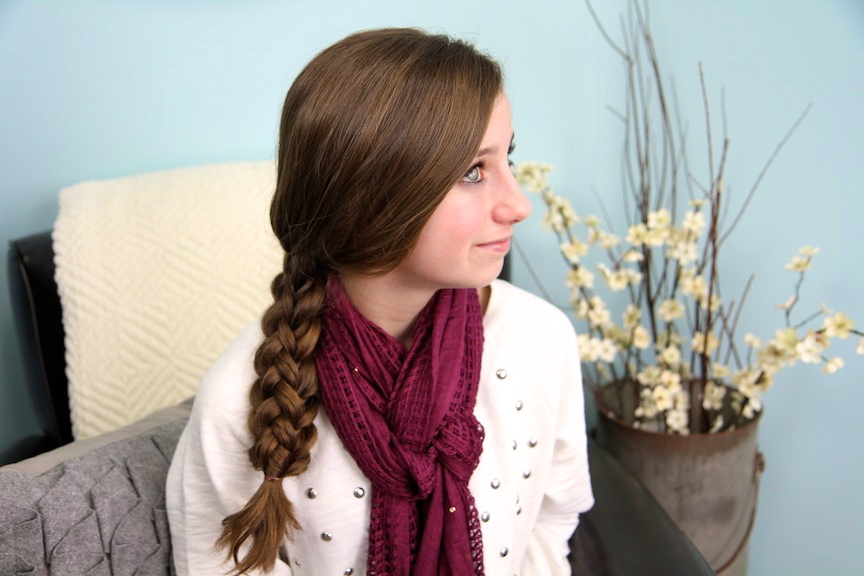
- Begin by brushing the hair and pulling it to wherever you want the braid to lay. {In the video, I did the hair straight down the back, but a side braid would also be very cute.}
- Using all of your hair, section it into three strands and create the first “stitch” of a simple braid…
- After the first stitch, on every outside edge, you will begin creating a Feather Braid… {On the left-most strand of hair, pull out a sliver of hair off the top and lay it to the side. For a DIY, you can use a clip, teeth, or extra hands to hold the strands out of the way.} Also, for this braid, I chose to feather off larger strands at the top and smaller feathers as we worked our way down…
- Now cross that outside strand over the middle to become the middle strand….
- Then, go to the right-most section of hair and pull out a sliver of hair off the top and lay it to the side, and cross the remaining strand over into the middle…
- Repeat these alternating steps until you run out of hair.
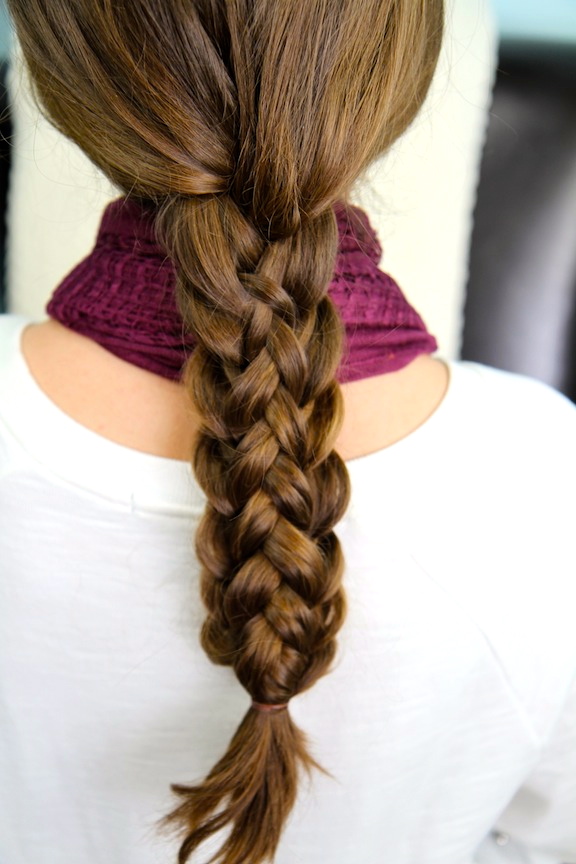
- Secure with an elastic. You should have a normal-looking braid with feather strands of hair coming off both sides of the braid all the way down. {Kind of looks like a feather, huh? LOL! That’s why we call it a Feather Braid!}
- Now, pick up the top two feather strands of the left and the top feather strand on the right.
- Begin a Dutch braid using those strands. {When you need to add hair into the braid, use ONLY the other feather strands of hair on both sides of the braid.}
- When you run out of feather strands, finish off with 2-3 stitches of a regular braid….
- Then, undo the original hair elastic and secure both braids together with that same elastic.
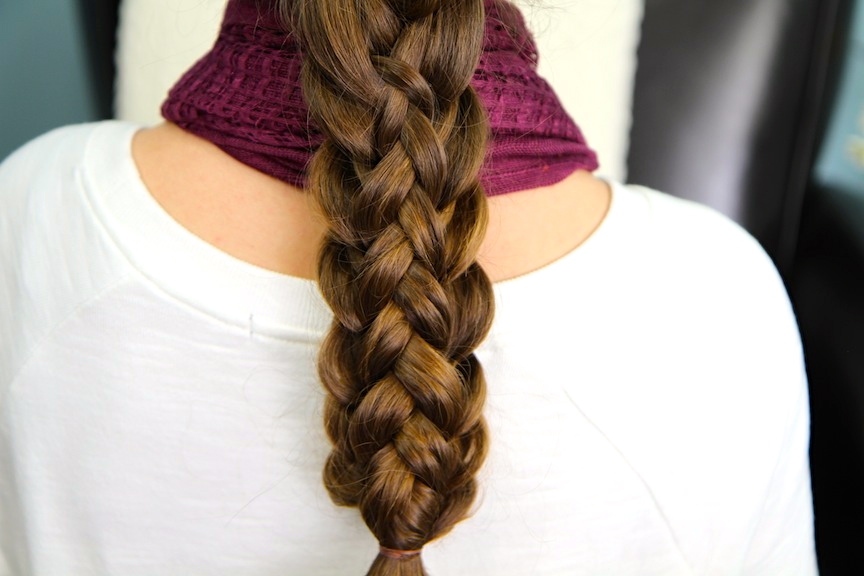
- You should now have two braids right on top of each other, the Stacked Braids.
- To help the Dutch braid stand out just a bit more, you may choose to “pancake” the bottom braid edges, as I did, by gently tugging on the elbows to make them a little more puffy. {This helps add to the overall illusion of braid awesomeness!}
No comments:
Post a Comment